


Laboratory Relocation Components: The 10 Phases Explained

A laboratory relocation consists of ten interconnected phases: pre-move assessment, laboratory inventory, regulatory review, equipment decommissioning, custom packing and crating, cold chain and sample management, transportation and logistics, receiving and installation, calibration and validation, and post-move support. Each phase requires specialized expertise and skipping or rushing any one of them increases the risk of equipment damage or sample loss and drives up downtime you hadn't planned for.
The scale changes, from a single analytical lab to a multi-floor research facility, but the phases do not. Knowing these laboratory relocation components and what each one involves, lets you plan realistically, allocate resources properly and hold your relocation team accountable. New to the topic? Start with our overview of what laboratory relocation involves and see our guide to what a laboratory relocation costs for budget planning. Below is a detailed breakdown of every phase.
Phase 1: Pre-Move Assessment
The foundation of every successful lab relocation is a thorough assessment of both the origin and destination facilities. A qualified relocation team will conduct an on-site or virtual walkthrough to evaluate:
- Equipment dimensions, weights and utility requirements (voltage, amperage, gas lines, water, drainage, ventilation)
- Floor load capacities and structural limitations at both sites
- Access routes including doorways, corridors, elevators, loading docks and any obstacles requiring equipment disassembly
- Environmental conditions such as vibration sensitivity zones, cleanroom classifications and temperature-controlled areas
- Timeline constraints driven by lease terms, construction schedules, grant deadlines or clinical service commitments
The output of this phase is a move plan that identifies risk and defines scope and it sets the timeline and budget that follow from both. For a full-service lab relocation, this document becomes the project blueprint that guides every subsequent phase.
Phase 2: Laboratory Inventory
Before anything is packed or moved, every item in the laboratory must be catalogued. This includes major instruments, ancillary equipment, furniture, chemical inventories, sample collections, consumables and documentation.
The result is a single inventory record that serves as the reference document for the whole move. It captures:
- Item description, manufacturer, model and serial number
- Current location and designated destination location
- Condition assessment and any pre-existing damage
- Special handling requirements (fragile, temperature-sensitive, hazardous, oversized)
- Disposition decisions: move, surplus, dispose or donate
This inventory serves as the reference document during the move and a verification checklist at the destination. It also provides the data needed to obtain accurate insurance coverage and to file claims if damage occurs.
Phase 3: Regulatory Review
Laboratory relocations intersect with multiple regulatory frameworks. Before any physical work begins, the relocation team must identify and address all applicable requirements:
- Transport Canada TDG: Classification, packaging, labelling and documentation for dangerous goods including flammable solvents, corrosive chemicals, compressed gases and radioactive materials
- WHMIS: Workplace Hazardous Materials Information System compliance for chemical labelling and safety data sheets
- Biosafety: Institutional biosafety committee approvals, Public Health Agency of Canada (PHAC) notifications for risk group 2+ pathogens and import/export permits for controlled biological materials
- Health Canada GMP: For pharmaceutical and clinical laboratories, validated decommissioning and recommissioning protocols with full documentation
- Provincial environmental regulations: Waste disposal requirements, air quality permits and any site-specific environmental conditions
- Customs and border: For cross-border moves, CFIA import permits, FDA registration (if applicable) and customs brokerage for scientific equipment
Sorting this out on paper is far cheaper than sorting it out with a shipment held at a border crossing.
Phase 4: Equipment Decommissioning
Before instruments can be packed and moved, they must be properly shut down, disconnected and prepared for transport. Professional decommissioning involves:
- Draining fluids from HPLC systems, water baths and cooling circuits
- Purging gas lines from GC systems, mass spectrometres and ICP instruments
- Decontaminating biosafety cabinets, fume hoods and any equipment exposed to biological or chemical agents
- Securing moving parts such as centrifuge rotors, autosampler arms and robotic components
- Documenting current calibration status to establish a pre-move baseline
- Engaging manufacturer-certified technicians for instruments under warranty or service contract
Done properly, decommissioning protects calibration integrity, prevents fluid spills in transit and satisfies decontamination requirements before anything leaves the building.
Phase 5: Custom Packing and Crating
Laboratory instruments are not standard freight and cannot be safely moved in generic packaging. Custom packing and crating is designed for each instrument based on its specific vulnerabilities:
- Vibration-sensitive instruments (analytical balances, electron microscopes, NMR systems) receive multi-layer vibration-dampening crates with foam isolation and shock indicators
- Heavy instruments (autoclaves, large centrifuges, MRI components) are secured to reinforced skids or pallets rated for their weight
- Glass and optics (microscope objectives, spectrophotometer cells, laser components) are individually wrapped and placed in compartmentalized containers
- Chemicals are packed in DOT/TDG-compliant containers with appropriate absorbent materials, segregated by compatibility class
Every crate is labelled with handling instructions, orientation arrows and shock/tilt indicators. Packing lists are attached and cross-referenced to the master inventory.
Phase 6: Cold Chain and Sample Management
For laboratories with biological samples, frozen specimens or temperature-sensitive reagents, this phase is often the most critical component of the entire relocation. The financial exposure backs that up: the pharmaceutical and life sciences sector loses an estimated $35 billion a year to temperature excursions in transit. Cold chain management encompasses:
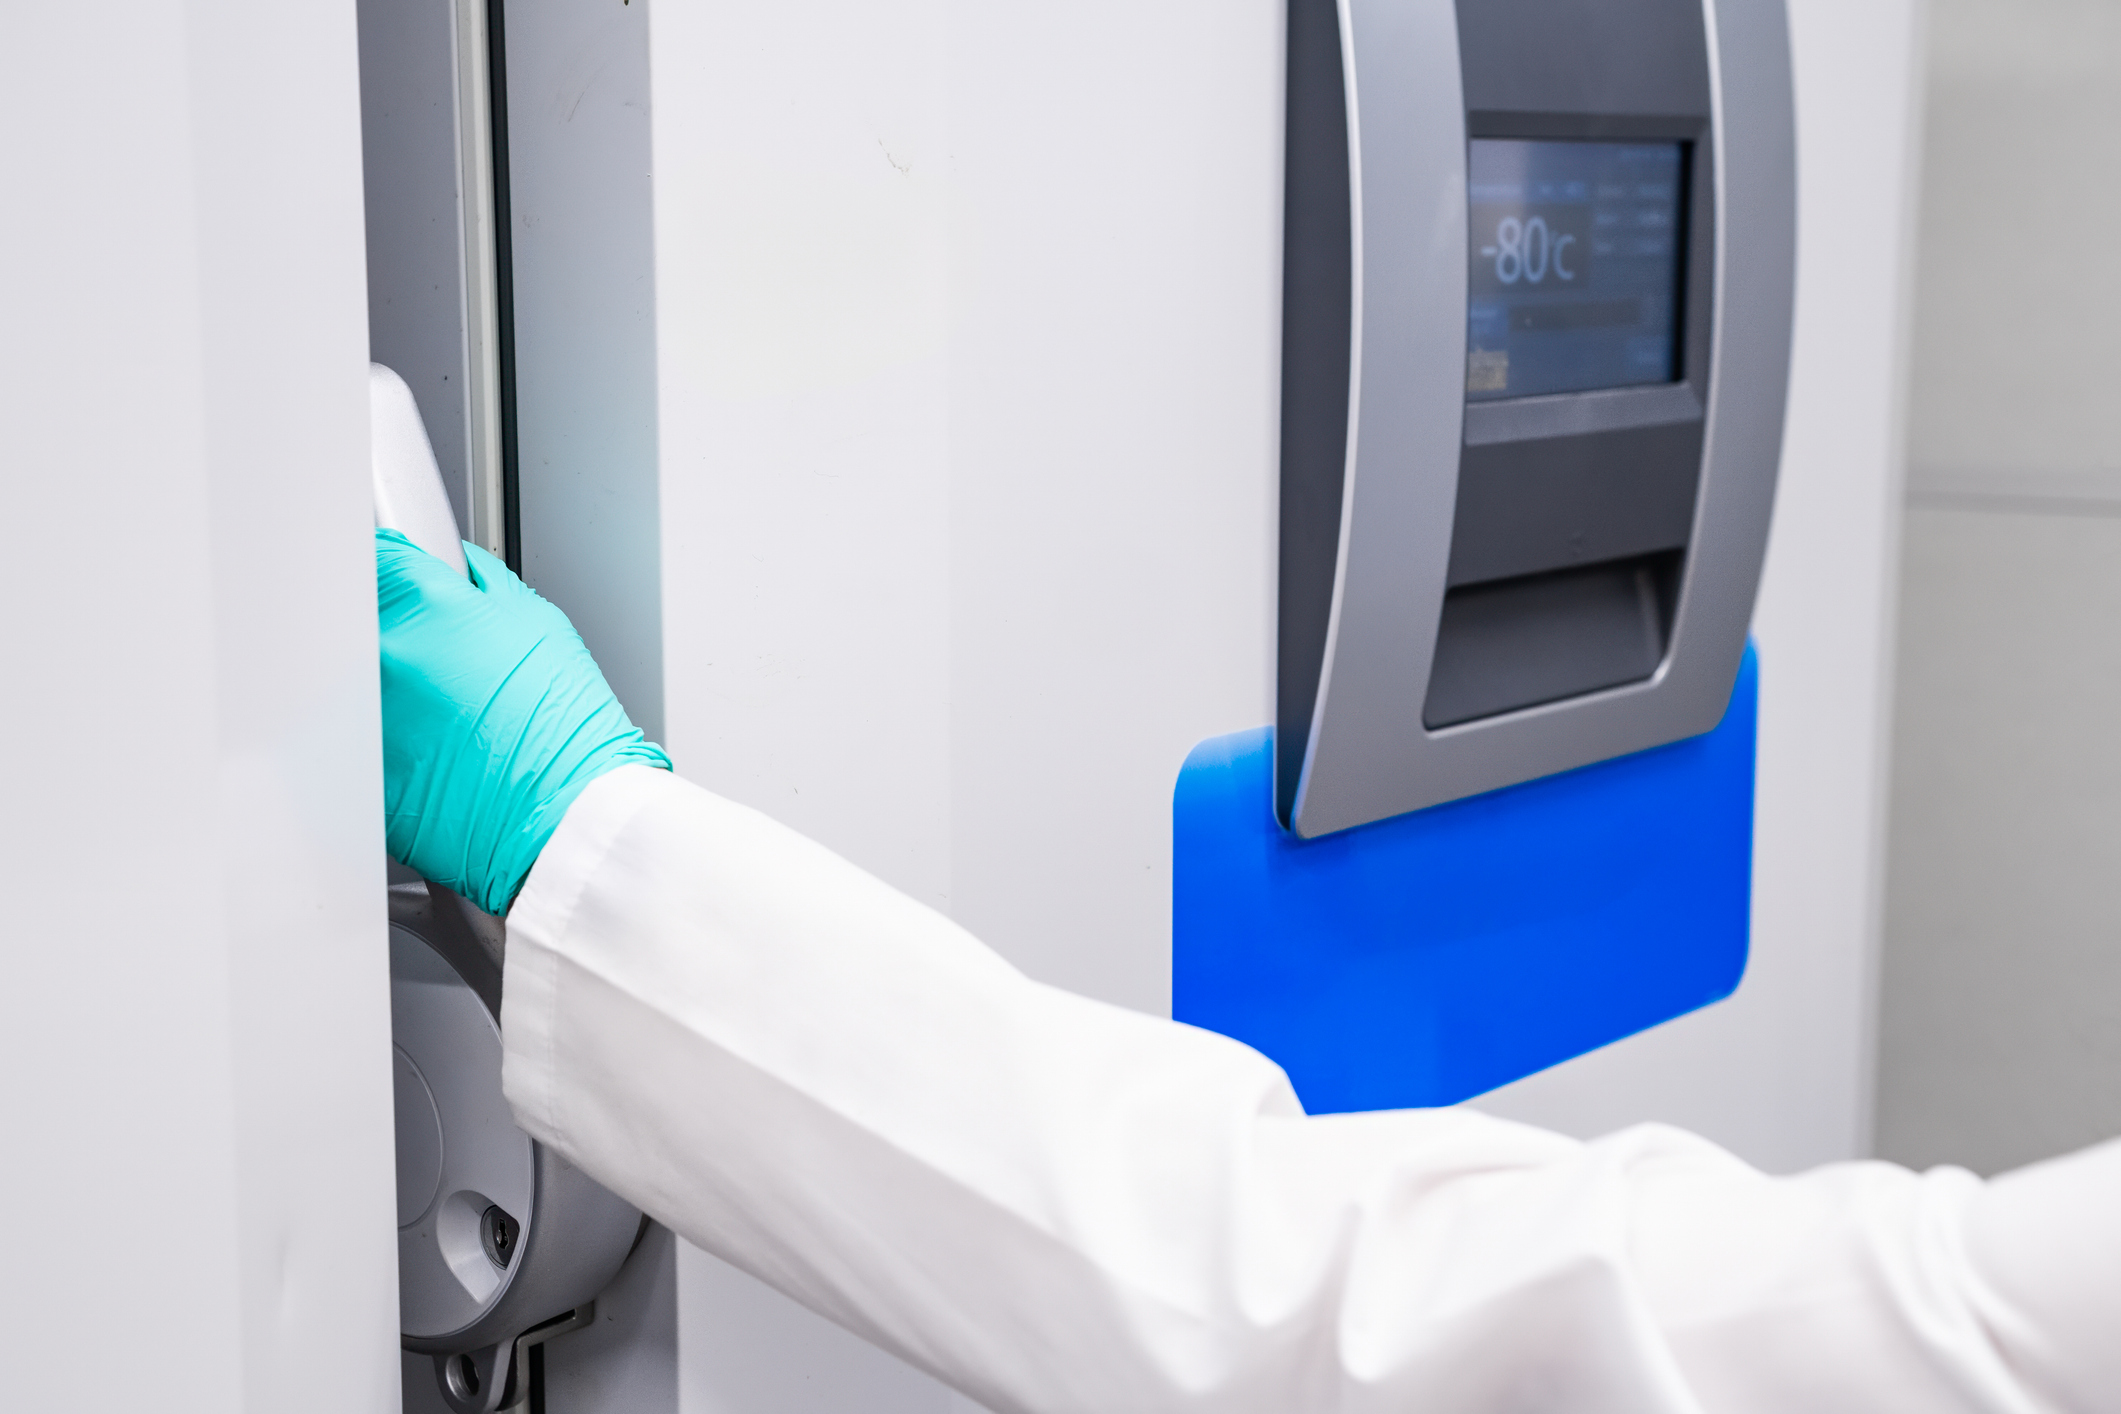
- Ultra-low freezer transport (-80°C): Armstrong Scientific Transport operates mobile plug-in transport units with generator-equipped trailers that keep freezers powered at their set temperature throughout transit, eliminating the risks associated with dry ice transfer or temporary thawing.
- Liquid nitrogen and cryogenic samples: Specialized dewars and vapour shippers maintain cryogenic temperatures during transport, with upright positioning and continuous monitoring.
- Refrigerated samples (2°C to 8°C): Temperature-controlled vehicles with real-time monitoring maintain pharmaceutical-grade cold chain conditions.
- Dry ice protocols: For shorter transfers, validated dry-ice packing with calculated sublimation rates ensures adequate coverage for the transit duration.
- Documentation: Data loggers record temperature continuously throughout the move, providing auditable proof that samples maintained their required conditions.
The chain of custody document tracks every sample container from origin to destination, recording who handled it, when and under what conditions. When that chain breaks, the cost is concrete: a single rejected cold chain load can cost more than $500,000.
Phase 7: Transportation and Logistics
The physical transport phase requires vehicles and drivers specifically equipped for scientific cargo:
- Air-ride suspension to minimize vibration and shock during transit
- Climate-controlled trailers to maintain stable temperatures for sensitive equipment and samples
- GPS tracking with real-time visibility for the project team
- Trained drivers with TDG certification and experience handling scientific shipments
- Coordinated scheduling so receiving teams, facility managers and utility contractors are ready when vehicles arrive
For complex multi-vehicle moves, a logistics coordinator sequences deliveries to match the installation plan at the destination. Foundational equipment arrives first and the delicate instruments come after the space is prepared.
Phase 8: Receiving and Installation
At the destination facility, each crate is checked against the master inventory, inspected for damage indicators and carefully unpacked. Installation involves:
- Positioning equipment according to the pre-approved floor plan
- Connecting to utilities: electrical, gas, water, drainage, ventilation and network
- Levelling and anchoring instruments that require stable, vibration-free platforms
- Reassembling components that were separated for transport
- Verifying that all accessories, cables and documentation arrived with each instrument
This phase requires close coordination with facility operations, electricians, plumbers, HVAC technicians and the laboratory's own staff. A white glove delivery approach carries that level of care all the way from truck to bench.
Phase 9: Calibration and Validation
Once installed and connected, every instrument must be brought back to operational status and confirmed to perform within specification. This phase includes:
- Functional testing: Powering up each instrument and verifying basic operation
- Calibration: Using certified reference standards to calibrate instruments against pre-move baselines
- IQ/OQ/PQ protocols: For regulated environments, completing Installation Qualification, Operational Qualification and Performance Qualification documentation
- Software verification: Confirming that instrument software, LIMS connections and data paths are functioning correctly
- Biosafety cabinet and fume hood certification: Independent certification of airflow patterns, containment integrity and HEPA filter performance
Calibration and validation timelines vary significantly by instrument type and by the scale of the lab. Getting one or two instruments running again can take a day or more, while labs with thousands of instruments may need one to two weeks to complete the full post-move recalibration process.
Phase 10: Post-Move Support
The relocation does not end when the last instrument is validated. Post-move support addresses the transition period as staff settle into the new facility:
- Resolving punch-list items identified during installation and validation
- Removing packing materials and transit debris left behind by the crew
- Returning rental equipment (temporary freezers, generators, shippers)
- Final inventory reconciliation to confirm every item has been accounted for
- Documentation package: move reports, temperature logs, calibration certificates, validation records and insurance documentation
- Post-move review meeting to capture lessons learned and close out the project
A relocation partner who stays engaged through this phase absorbs the loose ends. Otherwise they land on your team during what is already a stressful few weeks.
Summary: Laboratory Relocation Component Phase Durations at a Glance
The table below maps each of these laboratory relocation components to a realistic timeframe, so you can plan a project schedule with fewer surprises.
- Phase 1: Pre-move assessment: 2 to 4 weeks
- Phase 2: Laboratory inventory: 1 to 3 weeks
- Phase 3: Regulatory review: 2 to 6 weeks (concurrent with Phases 1-2)
- Phase 4: Equipment decommissioning: 1 to 2 weeks
- Phase 5: Custom packing and crating: 1 to 2 weeks
- Phase 6: Cold chain and sample management: 1 to 3 days (concurrent with Phase 7)
- Phase 7: Transportation and logistics: 1 to 5 days
- Phase 8: Receiving and installation: 1 to 2 weeks
- Phase 9: Calibration and validation: 1 to 3 weeks
- Phase 10: Post-move support: 2 to 4 weeks
Note: Phases overlap significantly. A mid-sized laboratory relocation typically spans 8 to 16 weeks from initial assessment to project closeout, so planning should begin 3 to 6 months in advance.
The Bottom Line on Laboratory Relocation Components
Armstrong Scientific Transport, a division of Armstrong Moving with over 60 years of moving expertise, manages every one of these laboratory relocation components, from origin to destination. From equipment decommissioning and custom crating to cold chain logistics with mobile plug-in transport and secure lab storage, Armstrong provides a single point of accountability for every phase of your move.
Contact Armstrong Scientific Transport before you plan your next lab relocation. We'll walk you through which of these ten phases apply to your move and where the risk actually sits.
FAQ
1. What is the most important component of a laboratory relocation?
The pre-move assessment is arguably the most important because every subsequent phase depends on it. A thorough assessment identifies risks, defines scope and establishes the timeline and budget. That said, for labs holding one-of-a-kind biological samples, cold chain management matters just as much, because a lost collection cannot be recovered at any price.
2. Can any of the phases be skipped to save time or money?
Skipping phases is strongly discouraged, since each one exists to manage a specific category of risk. Skipping the inventory phase, for example, means you have no way to verify that everything arrived and skipping decommissioning can result in fluid spills or calibration loss, plus safety incidents during transport. The phases can be scaled to match the complexity of your lab, but eliminating them entirely creates unacceptable risk.
3. How does the cross-border laboratory relocation process differ?
Cross-border moves, particularly between Canada and the United States, add customs brokerage, CFIA and FDA regulatory requirements, import/export permits for controlled materials and additional documentation for dangerous goods crossing international boundaries. The regulatory review phase becomes significantly more involved and transit times in the transportation phase must account for potential customs delays.
4. Who is responsible for calibration and validation after the move?
Responsibility for post-move calibration varies. For instruments under manufacturer service contracts, the OEM technician typically handles recalibration; for other instruments, the lab's own technical staff or a third-party calibration service performs the work. Your relocation provider should coordinate the scheduling of these services so that validation can begin immediately after installation rather than waiting days or weeks for a service appointment.
5. What happens if equipment is damaged during the relocation?
Reputable laboratory relocation providers carry specialized insurance for scientific equipment and will have documented the condition of every item during the inventory and decommissioning phases. If damage is discovered during receiving or validation, the pre-move condition records and shock/tilt indicators on crates provide evidence for insurance claims.